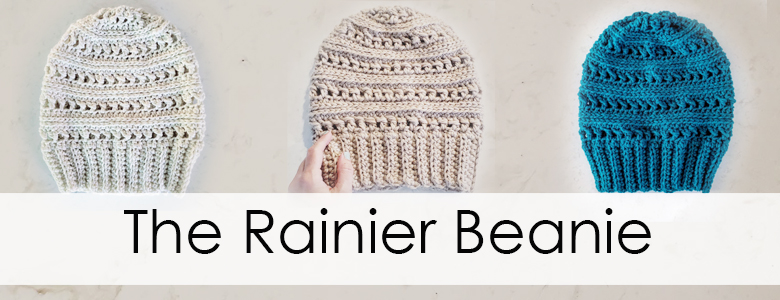
FREE Pattern: The Rainier Beanie
The Rainier Beanie
by Hooks and Needles Co.
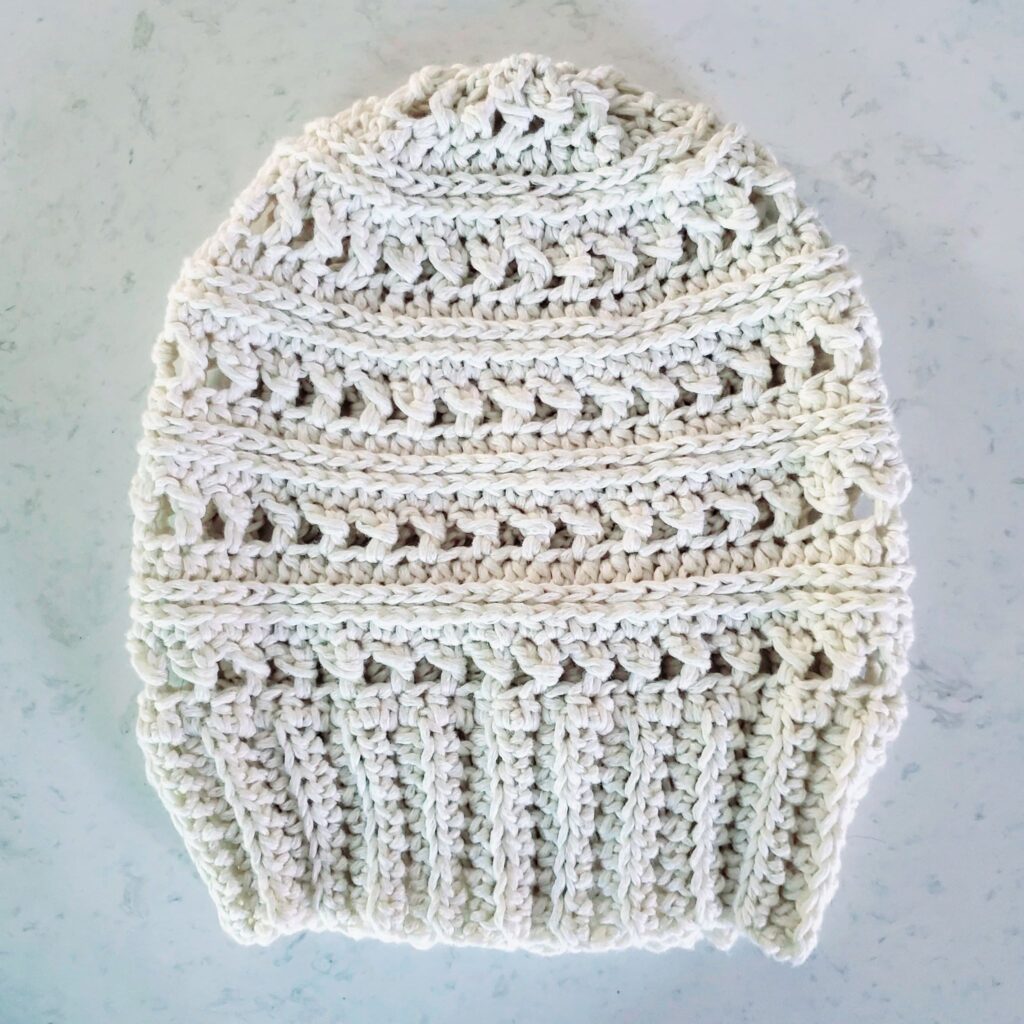
The Rainier Beanie is inspired by Mount Rainier in Washington State. A true majestic beauty, the locals are excited when she comes out from behind the clouds that regularly cover the state. When the clouds clear and the sun shines the people exclaim that “THE MOUNTAIN IS OUT!” That typically means we are free to go outside and enjoy the beauty that Washington has to offer.
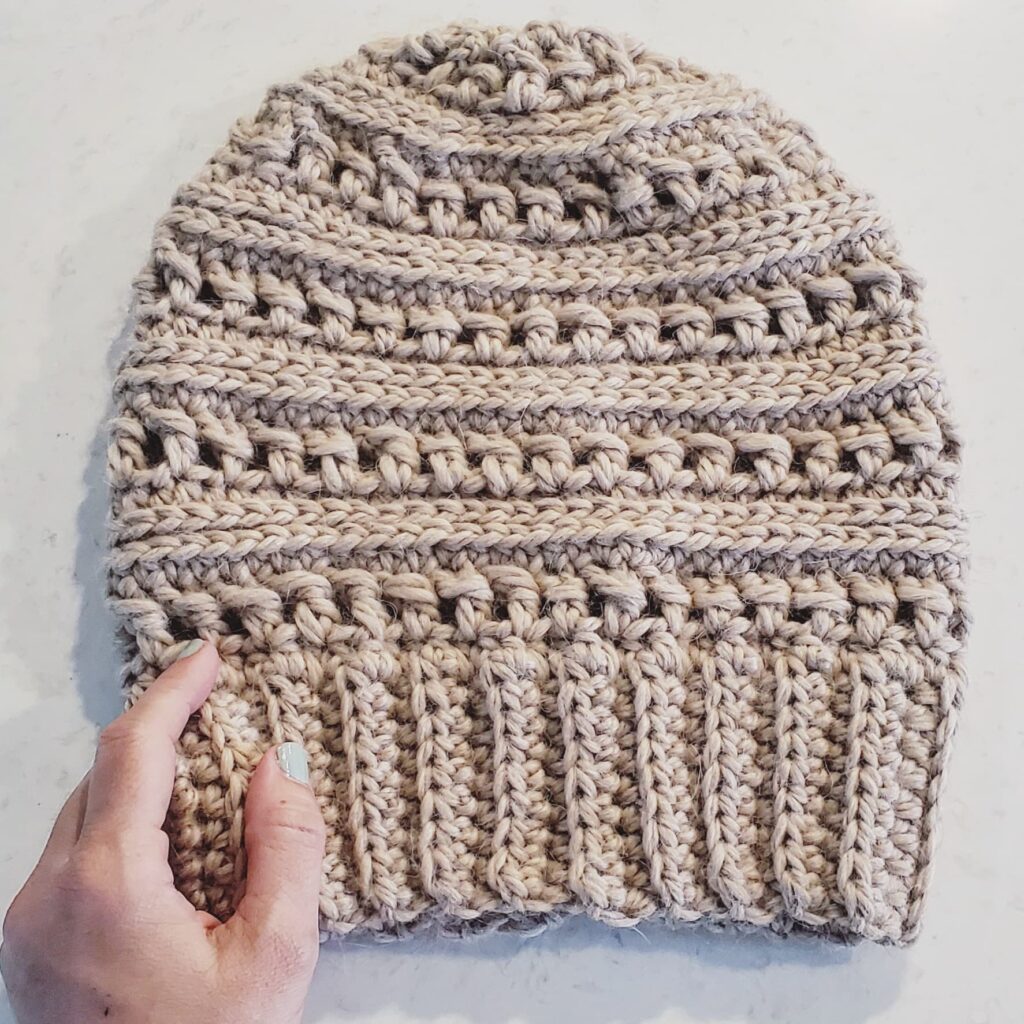
I wanted to make a simple hat that was loaded with beautiful texture. Something that one would be excited to wear. This beanie is slouchy and comfortable. Capable of being a spring/summer hat if made in a cotton blend, or an autumn/winter hat if made with wool or acrylic. Truly a pleasure to make and wear. As the Washingtonians say, “Live like the Mountain is out!”
Get the ad free printable PDF!
I strongly recommend reading through the entire pattern before getting started. Take note or highlight rounds when changes, such as decreases, are made.
Finished size:
10.5″ tall
Brim approx. 8″ wide while laying flat
Size:
teen/adult
Materials:
Approx. 250-300 yds of worsted weight (4) yarn.
US 6mm (J) crochet hook
Scissors
Tapestry Needle
KEY: US Terms
CH = chain
HDC = half double crochet
DC = double crochet
WDC = wrapped double crochet
BLO = back loop only
sl st = slip stitch
st/sts = stitch/stitches
dec = decrease (work 2 stitches together)
* Repeat the instructions in the asterisks to end of round
Stitch count in ( )
Place first st in same st as chain throughout
Ch does NOT count as stitch throughout
Identifying the front and back loops:
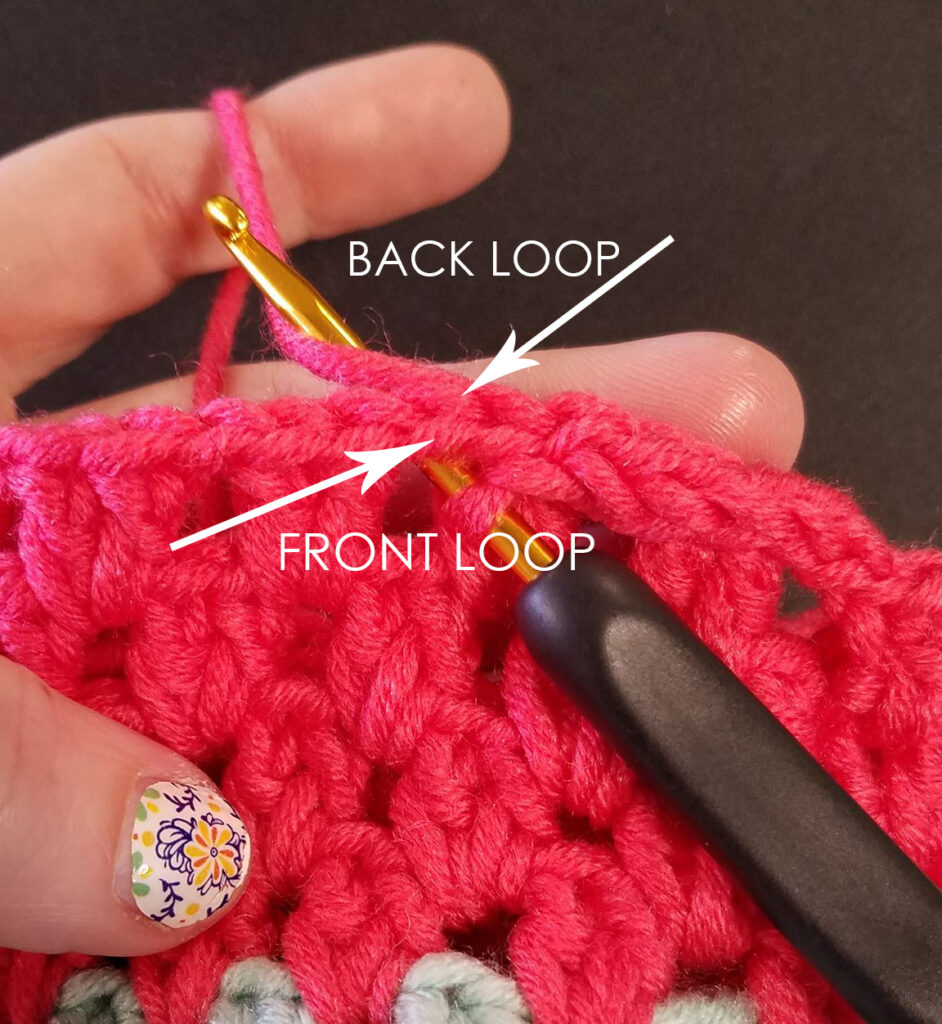
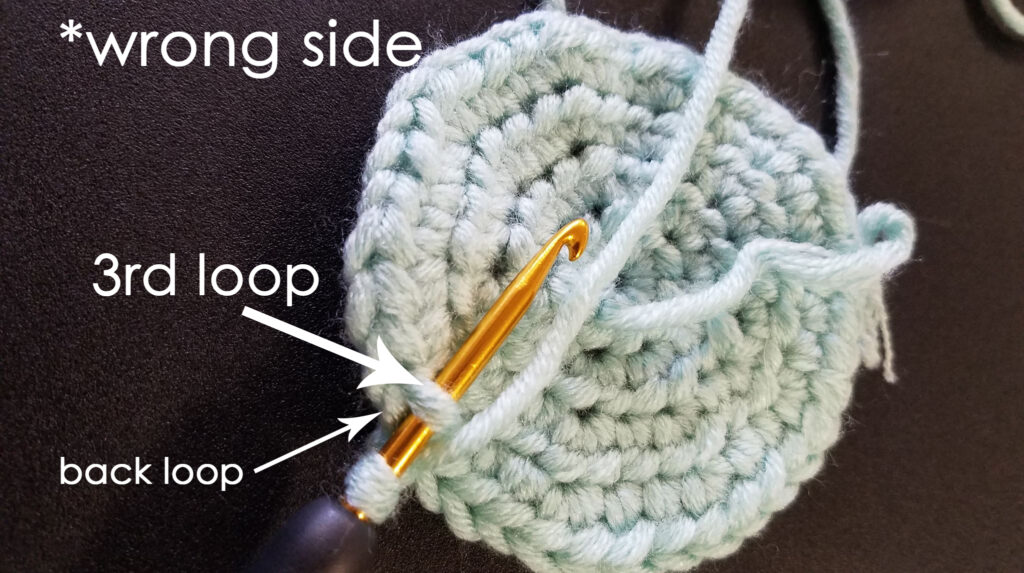
Identifying the 3rd loop:
Special stitch: Wrapped Double Crochet (WDC)- make a double crochet as usual, for the next stitch double crochet around the double crochet you just made. Counts as 2 stitches.
Invisible join: slip stitch into the first stitch of the round. Remove the hook and insert it from BEHIND the first stitch of the round. Place loop back on the hook, pull through and then chain to begin new round. WATCH THE TUTORIAL.
NOTE: This hat is worked from bottom up. The brim is worked flat and then joined together to form the round. The body is worked in the round. The wrapped double crochet rounds are started with a CHAINLESS DOUBLE CROCHET. WATCH THE TUTORIAL.
Brim:
ch 10
1) hdc in 2nd ch from hook and across. ch 1 turn. (9)
2) hdc in BLO of each st across. ch 1 turn. (9)
3-42) hdc in BLO of each st across.
DO NOT BIND OFF
ch 1
Hold the ends of the brim together so the last row lines up with your foundation chain. Sl st through last row stitches AND the foundation chain stitches. Round is formed.
ch 1
Flip the brim right side out. The slip stitches are now on the inside (wrong side) of the hat.
BODY:
1) Evenly hdc around the brim until you have 64 sts. Sl st to first hdc.
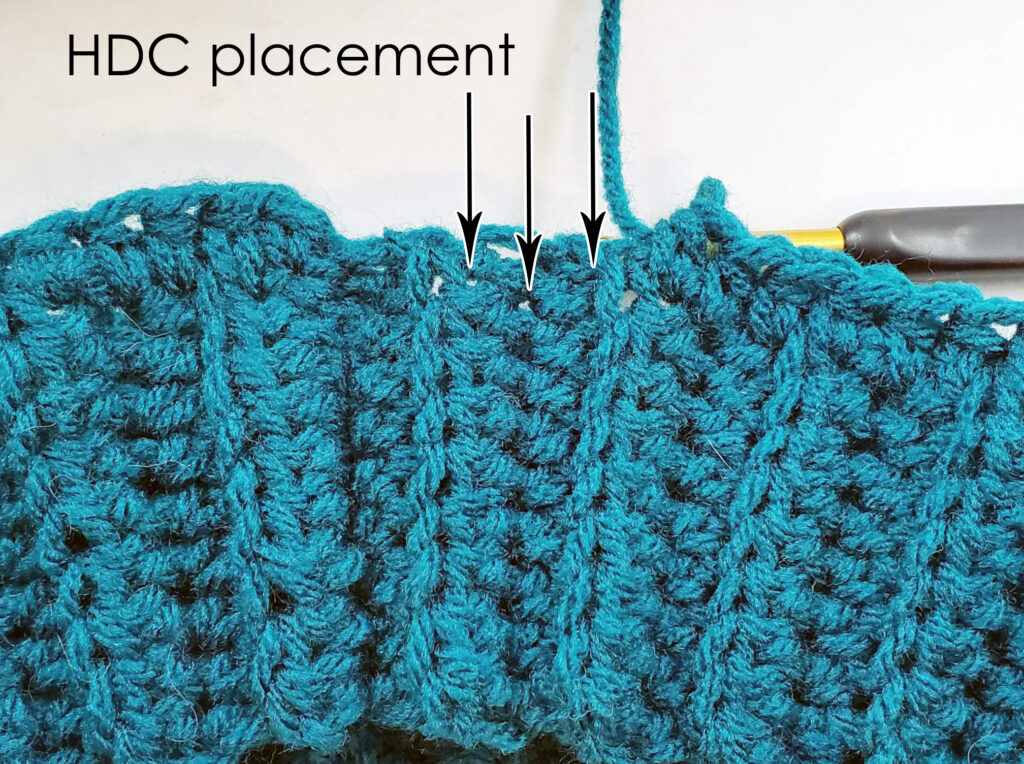
2) Begin round with chainless dc in first st. DC around first dc (wrapped double crochet made), sk the next st, * wdc in next stitch, sk the next st * sl st to first wdc. (64)
3) ch 1, hdc in each dc around, inv sl st to first hdc. (64)
4) ch 1, hdc in 3rd loop of each st around, inv sl st to first hdc. (64)
5) ch 1, hdc in 3rd loop of each st around, sl st to first hdc. (64)
6-9) Repeat rows 2-5 once more.
10) Repeat round 2
11) Repeat round 3
12) Repeat round 4
13) ch 1, * hdc in 3rd loop of next 8 sts, hdc dec in 3rd loops *, hdc in 3rd loop of last 4 sts, sl st to first hdc. (58)
14) Repeat round 2
15) ch 1, * hdc in the next 6 sts, hdc dec * , hdc in last 2 sts, inv sl st to first hdc (51)
16) ch 1, * hdc in 3rd loop of next 5 sts, hdc dec in 3rd loops * , hdc in 3rd loop of last 2 sts, inv sl st to first hdc (44)
17) ch 1, * hdc in 3rd loop of next 4 sts, hdc dec in 3rd loops * , hdc in 3rd loop of last 2 sts, sl st to first hdc (37)
18) Repeat row 2, leaving last 2 sts unworked, sl st into first dc.
19) ch 1, hdc in next 2 sts, hdc dec, sl st in first hdc.
FINISH OFF LEAVING LONG TAIL FOR CLOSING.
Thread tail through tapestry needle and weave through each stitch of last round and pull tight to close. Pull remaining yarn tail through top to inside of hat and secure.
Weave in ends.
**NOTE If you choose to sell items created from this pattern, please credit my website www.hooksandneedlesco.com (IG:@hooksandneedlesco) for the pattern. Please do not rewrite, alter, or sell this pattern in any way. This PATTERN is strictly for personal use. Thank you!**


