Cable Knit Pumpkin
Cable Knit Pumpkin
by Hooks and Needles Co.

Ah, autumn. A time to wear all the cozy knits and crocheted makes
we’ve been working on all summer. We dig out our fall decor from our
storage spaces and try to add a touch of class to our homes to celebrate
the coziest season of all. Autumn.
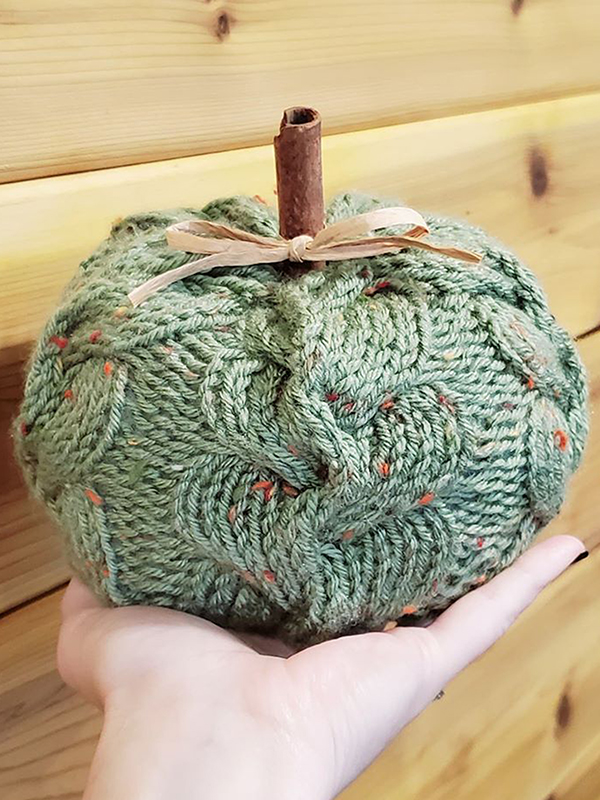
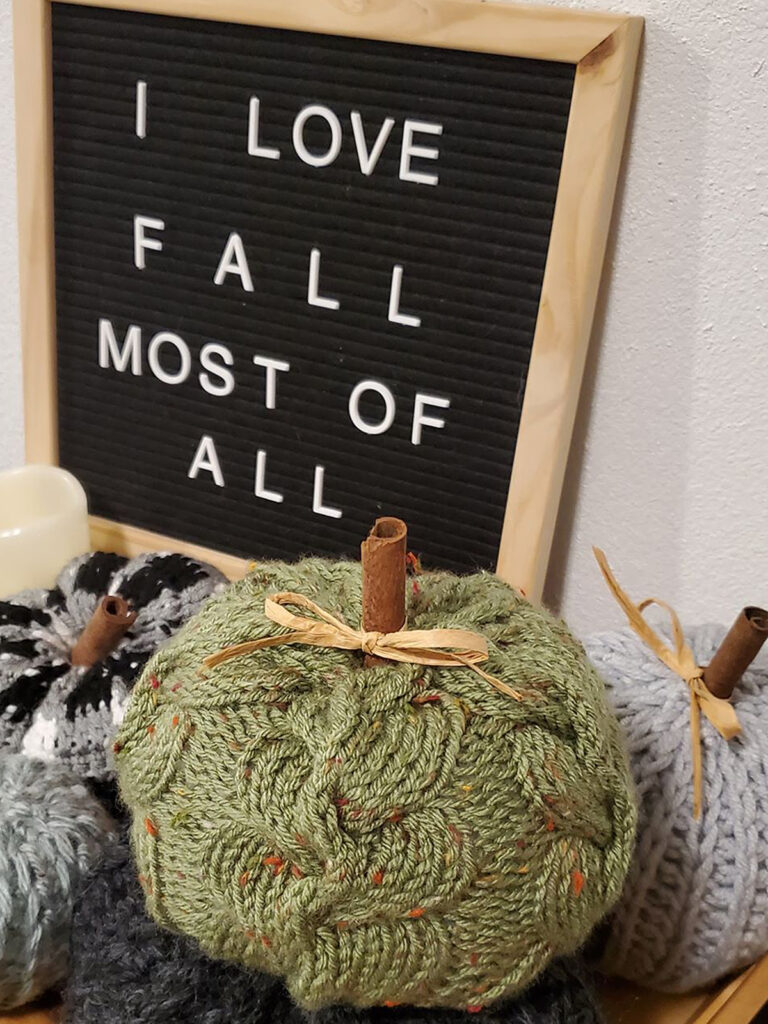
Pumpkins are obviously an icon for the season! This cabled pumpkin is a
simple pattern that you’ll be able to put on repeat. Great for gifting and
selling at markets. Sure to be a popular make for you!
I strongly recommend reading through the entire pattern before getting started. Take note or highlight rounds when changes are made.
Finished size:
Approx. 6″ tall (including stem)
Approx. 6″ wide
Materials:
Approx. 100-200 yds of worsted weight (4) yarn.
US 7mm double pointed needles or circular needles
Cable Needle or stitch holder
Scissors
Tapestry Needle
Stem (this could be anything. i.e. a small stick, cinnamon stick, a piece of looped leather…)
Fiber Fill, or stuffing of some sort.
Stitch Markers: 5, one should be different from the other 4 to mark beginning of round.
(You can find some cute markers in my Etsy Shop!)
KEY: US Terms
CO = cast on
K = knit
P= purl
PM = place marker
BO = bind off
6/6R = 6 stitches under 6 stitches RIGHT leaning cable
6/6L= 6 stitches over 6 stitches LEFT leaning cable
st/sts = stitch/stitches
* Repeat the instructions in the asterisks to end of round *
CABLE INSTRUCTIONS:
6/6R: Place next 6 sts on cable needle and hold in BACK, K6 sts, then K6 sts off of cable needle.
6/6L: Place 6 sts on cable needle and hold in FRONT, K6 sts, then K6 sts off of
cable needle.
PATTERN:
CO 90 sts with long tail for closing, PM at beginning of round. JOIN IN THE ROUND.
1) K each st around.
2) * K4, 6/6R, P2, PM *
3) * K16, P2 *
4) * K16, P2 *
5) * K16, P2 *
6) * 6/6L, K4, P2 *
7) * K16, P2 *
8) * K16, P2 *
9) * K16, P2 *
REPEAT rounds 2-9 THREE more times.
BO leaving long tail for closing.
Thread tapestry needle and weave the tail in and out of sts around BO edge to cinch closed. Hide tail inside pumpkin, no need to weave in ends.
STUFF – do not over stuff.
Thread tapestry needle with tail from CO side. Repeat closure method, leaving a small opening to insert your stem. You can feed tail down through center of pumpkin if it is too round. Secure. Finish off with a raffia bow or embellishment of your choosing.

**NOTE If you choose to sell items created from this pattern, please credit my website www.hooksandneedlesco.com (IG:@hooksandneedlesco) for the pattern. Please do not rewrite, alter, or sell this pattern in any way. This PATTERN is strictly for personal use. Thank you!**


